When can I register?
New, transfer and returning applicants will receive steps on how to schedule an advising appointment in the admission/acceptance email sent to their Cardinal mail account.
- **Degree and certificate seeking students** are required to meet with an advisor prior to being released to register for classes.
- **Non-degree students** may register once admitted when registration opens for new students on the Academic Calendar. Please follow the steps/methods below by skipping any instructions that pertain to degree progress, degree audit, or degree/certificate requirements.
Registration opens in April for Summer/Fall and November for Spring for continuing students. Check the college calendar for dates.
The Registrar's Office notifies currently enrolled students when registration times are available. Appointments are assigned based on credits completed, not including in-progress credits. Students are encouraged to register as soon as possible to ensure enrollment in their desired class schedule.
Advisors can answer any questions on your degree progress and academic planning. You can also track your degree progress by checking My Progress in Self Service.
Register for Classes
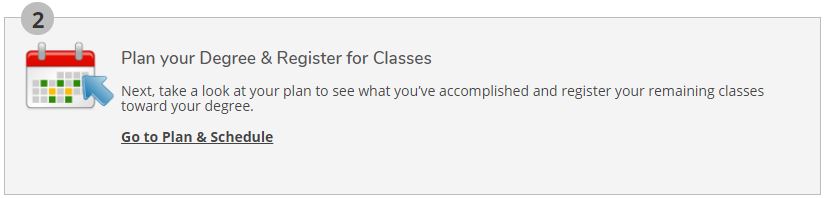
Planning Courses and Sections
Use one of the methods below to search, select, and plan sections:
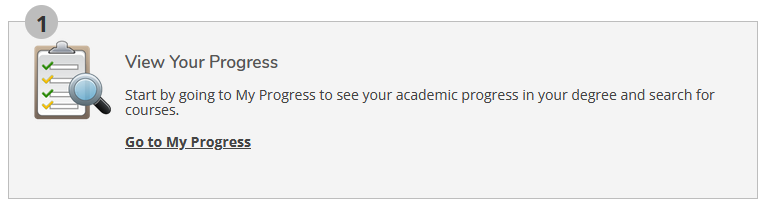
My Progress displays all General Education Matriculation (GEM) and program-specific requirements. Completed items will display in green and outstanding items will display in red.
- Log into your MyNIC and click on Self Service.
- Click on Student Planning.

- Select Go to My Progress.
- Locate an outstanding requirement and click the Search button.

- The Course Catalog will appear and display a list of courses that meets your search criteria. Use the filters on the left-hand side of the screen to narrow your search, if needed.
- Below the name of the course in which you would like to register, click the View Available Sections box. All sections offered for the course will appear with their specific offering information.
- Find the class that best fits your schedule and click the Add Section to Schedule button.
NOTE: Make sure you are searching for the correct semester as more than one term may be open. - The Section Details screen will display. This screen will show the instructor, meeting information, available seats, requisite courses, description and a link to view the bookstore information. Click Add Section to add the course to your plan.
- Click the Back to My Progress button on the upper left-hand side to back to My Progress. Repeat these steps as needed. Once fully planned, from the My Progress screen, click Student Planning in the top left-hand and then click Plan & Schedule.
You are NOT registered yet.
The Course Catalog is a search tool used to locate available courses or sections for a subject or multiple subjects at one time. The Advanced Search feature allows you to locate sections available for a term while the Subject Search allows you to view all courses NIC offers for a subject.
- Log into your MyNIC and click on Self Service.
- Click on Course Catalog.

- At the top of the screen under Result Review select either Catalog Listing or Section Listing.
- Catalog Listing – Courses will be displayed in a block view with the course description. Courses and Sections can be planned from this view.
- Section Listing – Only sections available for an active term can be planned from this view.
- Enter a Term and a Subject(s) to the search criteria. Fill out additional criteria to narrow the search. Click the Search button at the bottom of the screen.
- A selection of courses that meets the search criteria will appear. Use the filters on the left-hand side of the screen to narrow the search even further, if needed.
- To add a course section to your plan:
- Catalog Listing - Click the View Available Sections box to expand the section listing. Locate the section in which you would like to register and click the Add Section to Schedule button.
- Section Listing – Once you locate the section in which you would like to register, click the Add button.
- Click on Academics in the upper left-hand corner. Select Student Planning and then Go to Plan & Schedule.
You are NOT registered yet.
The Search Bar is a quick search tool from the Plan & Schedule screen which allows you to locate a course or section to add to your plan.
- Log into your MyNIC and click on Self Service.
- Click on Student Planning.
- Select Go to Plan and Schedule.
- Enter the course you would like to plan in the Search for courses… box in the upper right-hand corner.
- A selection of courses that meets your search criteria will appear. Use the filters on the left-hand side of the screen to narrow the search even further, if needed.
- Below the name of the class in which you would like to register, click the View Available Sections box. All sections offered for the course will appear with their specific offering information.
- Find the class that best fits your schedule and click the Add Section to Schedule button.
NOTE: Make sure you are searching for the correct semester as more than one term may be open. - The Section Details screen will display. This screen will show the instructor, meeting information, available seats, requisite courses, description and a link to view the bookstore information. Click Add Section to add the course to your plan.
- To go back to your planned courses and register or search for another class, click Back to Plan & Schedule in the upper left-hand corner.
You are NOT registered yet.
Registering for Sections
Courses are planned; sections are registered. Sections of planned courses need to be selected before registration can be completed. If you have not chosen specific sections for your planned courses, refer to the steps below:
Selecting Sections for Preplanned Courses
- Click View other sections on each course planned to select the date, time, and instructional method of the course in which you would like to register.
- Hover over the available sections to review your options. There can be several pages of sections, so be sure to review all your options.
- Click on the Section that best fits your schedule.
- The Section Details screen will display. This screen will show the instructor, meeting information, available seats, requisite courses, description and a link to view the bookstore information.
- Click Add Section to add the course section to your plan.
You are NOT registered yet.
Use one of the registration methods below to complete your enrollment:
Click the Register button directly below the section information.

Note: This method cannot be used when registering for sections with co-requisites. Co-requisite refers to a set of courses that must be taken at the same time (i.e. CHEM 101 and CHEM 101L, ENGL 101P and 114C, etc.).
Click the Register Now button in the upper right-hand side of the screen.

Once the section(s) turns green and switches from Planned to Registered, but not started or Registered, then you have successfully registered for the section(s).
Note: If a section(s) remains yellow, see notifications in the top right-hand corner.

Course registration tutorial video